How to Light Up Your Book Nook: A Beginner’s Guide to Hiding Wires.
There is a moment in every miniature build where the magic happens: The Flip of the Switch.
Seeing your tiny library or coffee shop glow with warm light is the payoff for 20 hours of work. But getting there can be a nightmare.
Tangled wires, battery boxes that don't fit, and bulbs that burn out.
Whether you are building a Rolife kit or a custom diorama, lighting doesn't have to be scary.
You don't need to be an electrician—you just need to know how to hide the evidence.
The Two Types of Miniature Lights.
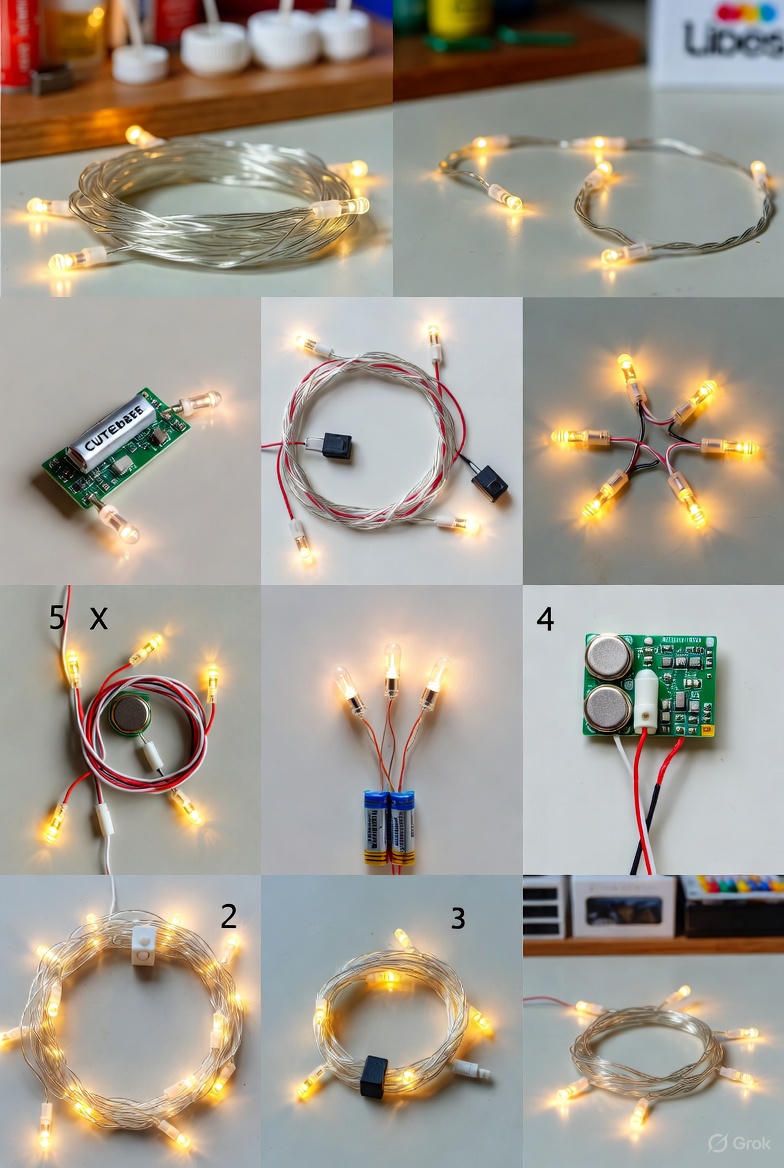
1. The "Fairy String" (Easiest) Most beginner kits (like Cutebee) use these. It is a thin copper wire with tiny LEDs embedded in it.
- Pros: Flexible, almost invisible, no soldering.
- Cons: If one bulb breaks, they all break. Hard to cut to length.
2. The "Pre-Wired Diode" (Pro) These are individual bulbs with red and black wires attached.
- Pros: You can place them exactly where you want (one in a lamp, one under a desk).
- Cons: You have to twist wires together to connect them to the battery.
Essential Tools for Wiring.
You cannot do this with scissors. You will cut the copper and ruin the light.
- Wire Strippers: [Link to Amazon] You need a precision pair to pull the plastic coating off the wire without snapping the metal.
- Black Electrical Tape: [Link to Amazon] To prevent short circuits (when two bare wires touch and kill the battery).
- Scotch Tape: To tape wires flat against walls.
How to Hide the Wires (The "False Wall" Trick).
The #1 rule of miniatures: Never let the wire show.
Technique A: The False Floor If you are building a room box, glue thin strips of wood (about 3mm thick) to the base floor. Lay your wires between the strips. Then, glue your "finished" floor (paper or wood) on top of the strips. The wires run underneath like a subway system.
Technique B: The Corner Crease Run wires up the back corner of the room. Use a tiny dab of Tacky Glue to hold it in the corner. Then, paint over the wire with the same color as the wall. It disappears.
Technique C: The "Ivy" Cover-Up If you have a wire running up an outside wall that you can't drill through, glue dried moss or paper ivy leaves over it. It turns a mistake into a feature.
Upgrading to USB (Ditch the Batteries).
Tired of changing coin batteries every 24 hours? You can upgrade any kit to USB power.
- Buy a "USB to 2-Pin Connector Cable" [Link to Amazon].
- Cut the battery box off your kit's lights.
- Twist the Kit's Red Wire to the USB's Red Wire.
- Twist Black to Black.
- Wrap in tape. Now your book nook runs off your phone charger forever.
Troubleshooting Checklist.
- Light flickering? Your wires are loose. Retwist them and tape tighter.
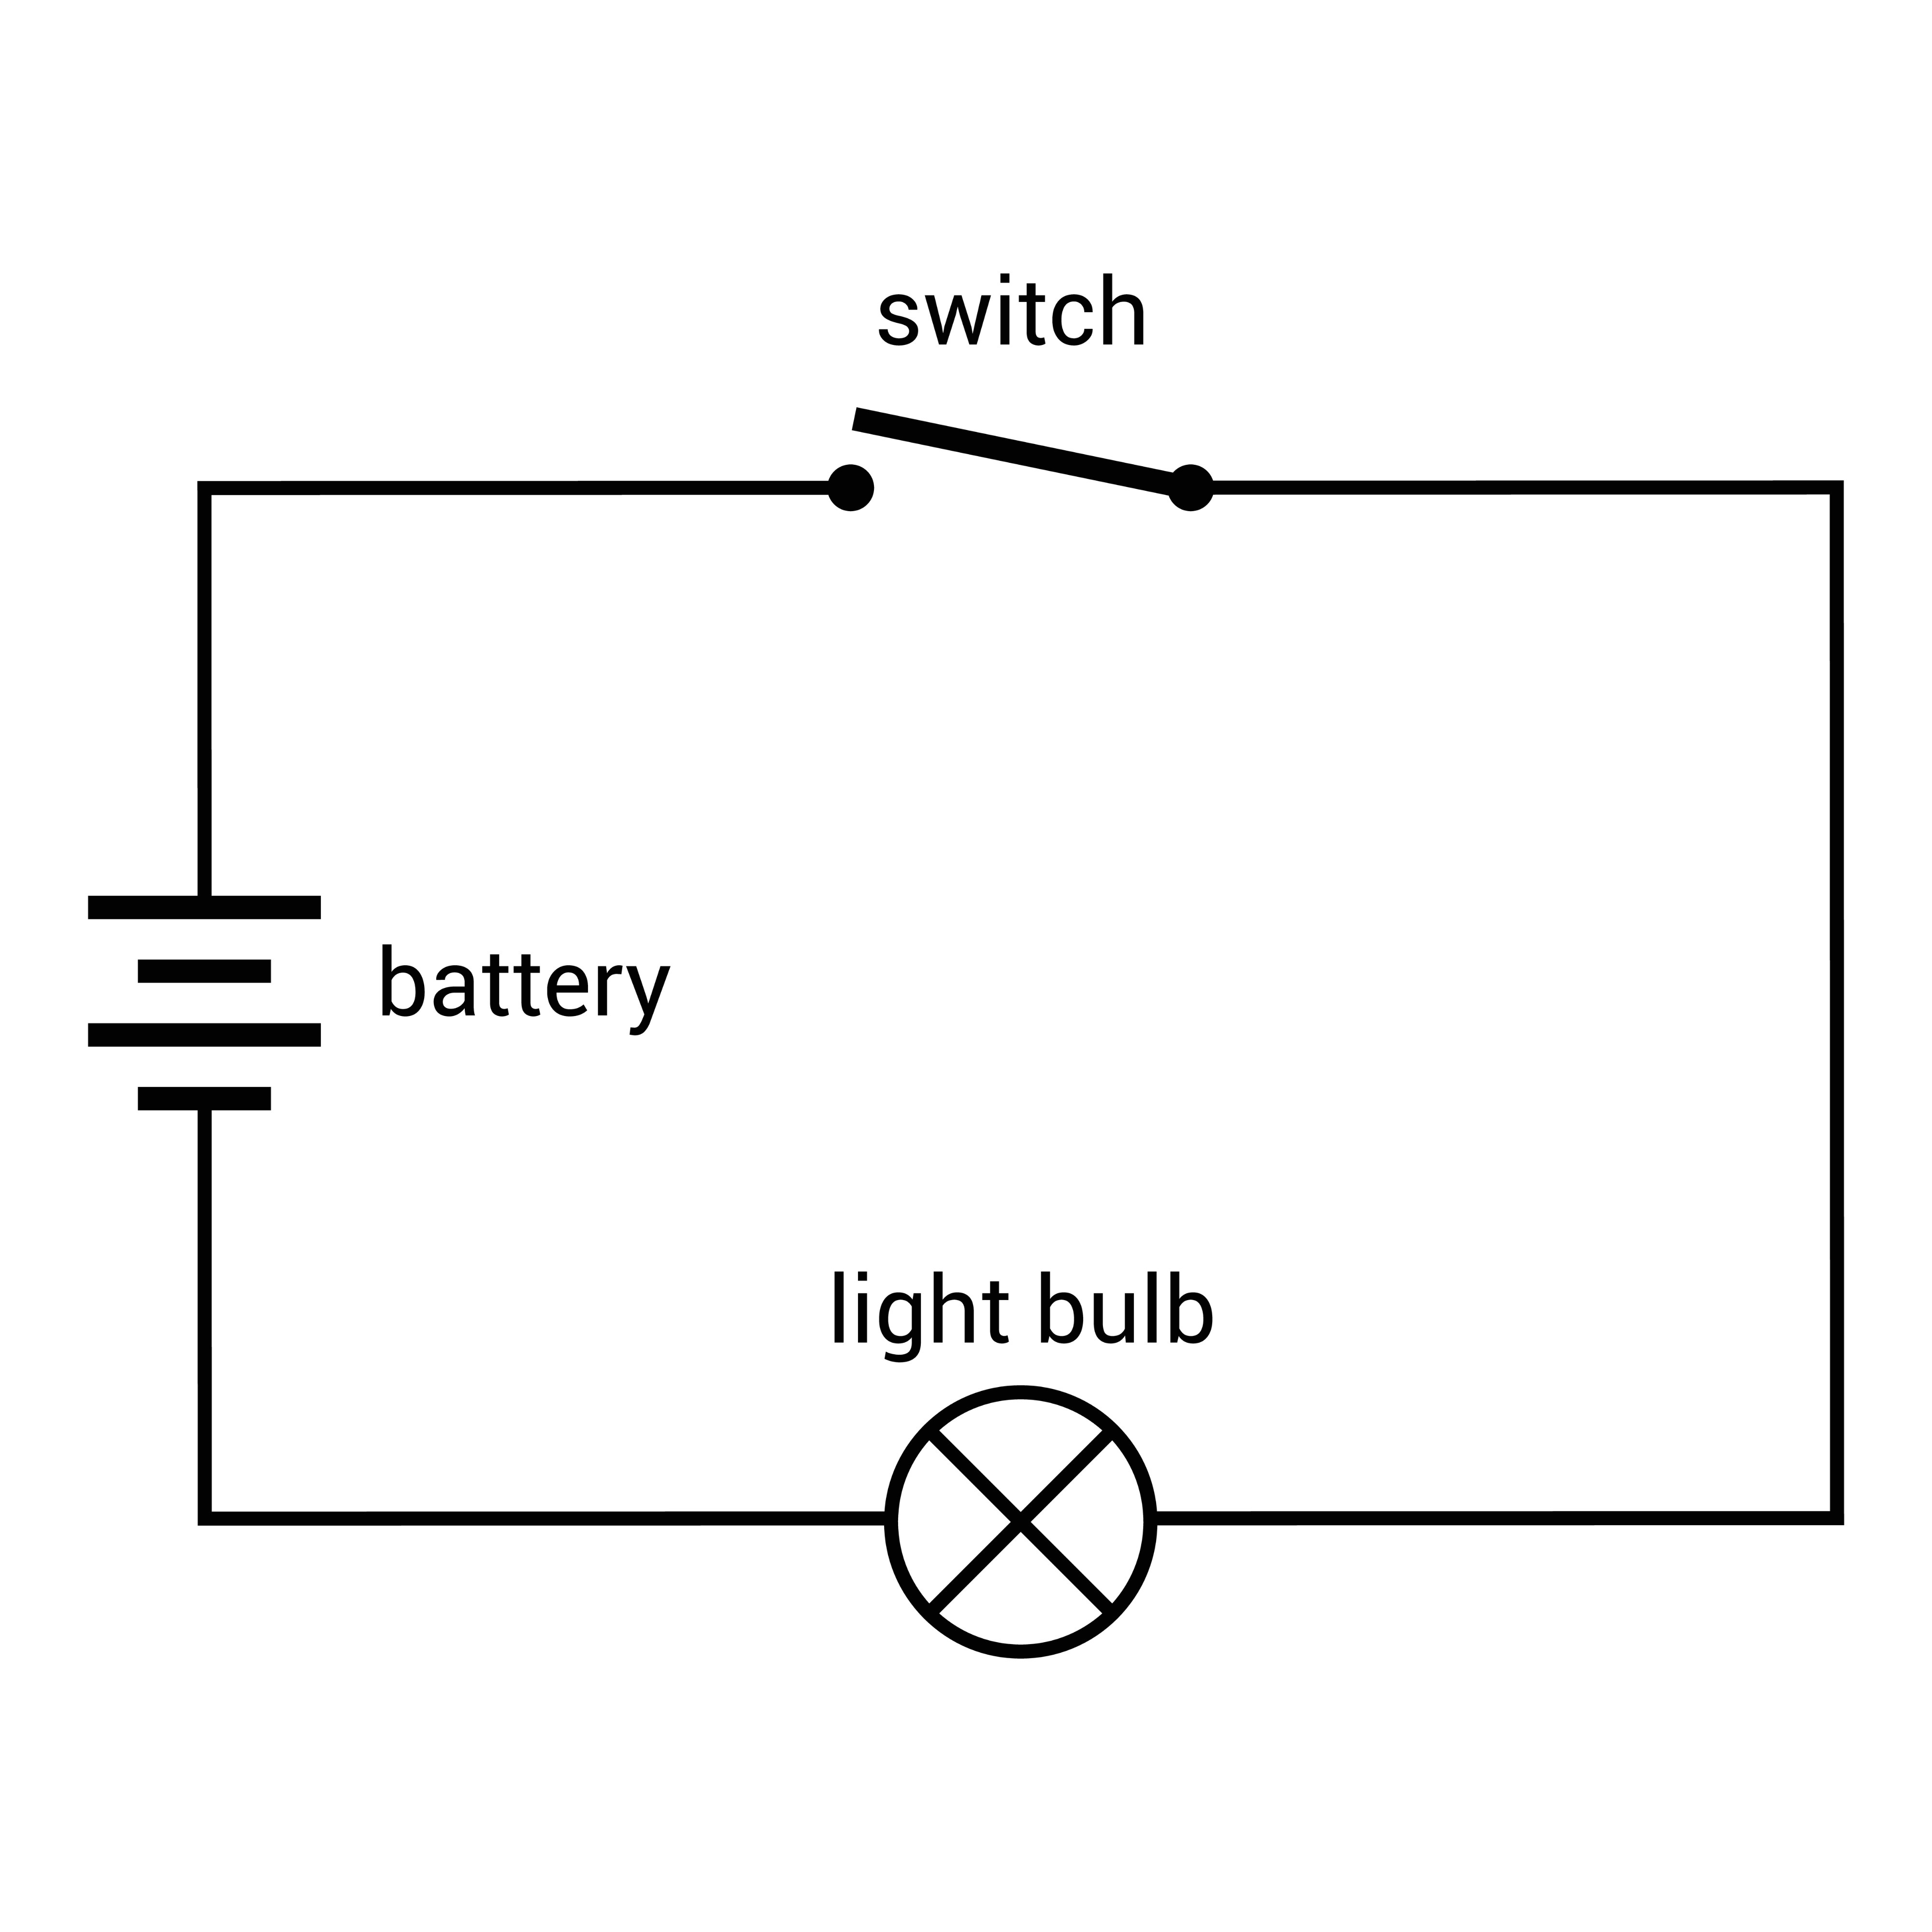
- Light won't turn on? Check the battery polarity (+/-). Or, two bare wires are touching (short circuit). Separate them.
- Dim light? You might have too many lights on one battery. Switch to USB power.
Join the Club
Get weekly miniature tips and kit discounts.