Let me save you some frustration right now: Throw away the glue that came in your kit.
I don't care if it's a $15 Amazon kit or a $60 premium Japanese import. That mystery tube of clear goo they included?
It's garbage. It's watery. It takes forever to dry. And if you use it on the wrong material, you'll end up with warped wood, foggy windows, or pieces that fall apart three weeks after you finish building.
I've been building miniature houses for over a decade. I've tested every adhesive on the market—from $2 school glue to $18 industrial epoxies. I've ruined builds with the wrong glue so you don't have to. And here's what I've learned:
There is no "one glue fits all" in miniature building.
Wood needs one type of glue. Clear plastic windows need another. Metal hardware needs something completely different.
If you try to use Super Glue on everything (like I did in my first build), you'll end up with white chemical fog on your windows, brittle joints that snap, and regret.
This guide will tell you exactly which glue to use for which material, which brands actually work, and which ones will ruin hours of careful work.
The Two Warnings Every Builder Learns the Hard Way.
Warning #1: The "Fogging" Disaster (Super Glue + Clear Plastic) Super glue (cyanoacrylate) and clear acrylic/plastic do not mix.
Here's what happens: You carefully glue a tiny window into place using Super Glue because it dries fast. Within 60 seconds, a white fog appears on the plastic. It looks like someone breathed on the window in winter and it froze. You try to wipe it off. It doesn't budge. It's permanent.
- Why this happens: Super glue releases vapors as it cures. When these contact smooth plastic, they create a crystalline white residue called "blooming."
- The rule: Never use Super Glue on clear plastic. Ever.
Warning #2: The "Soggy Wood" Problem Miniature kits use thin laser-cut wood. When you apply glue that's too watery (like school glue), the wood fibers swell.
An hour later, your wall panel has bowed outward like a banana. By the time the glue dries, the damage is permanent.
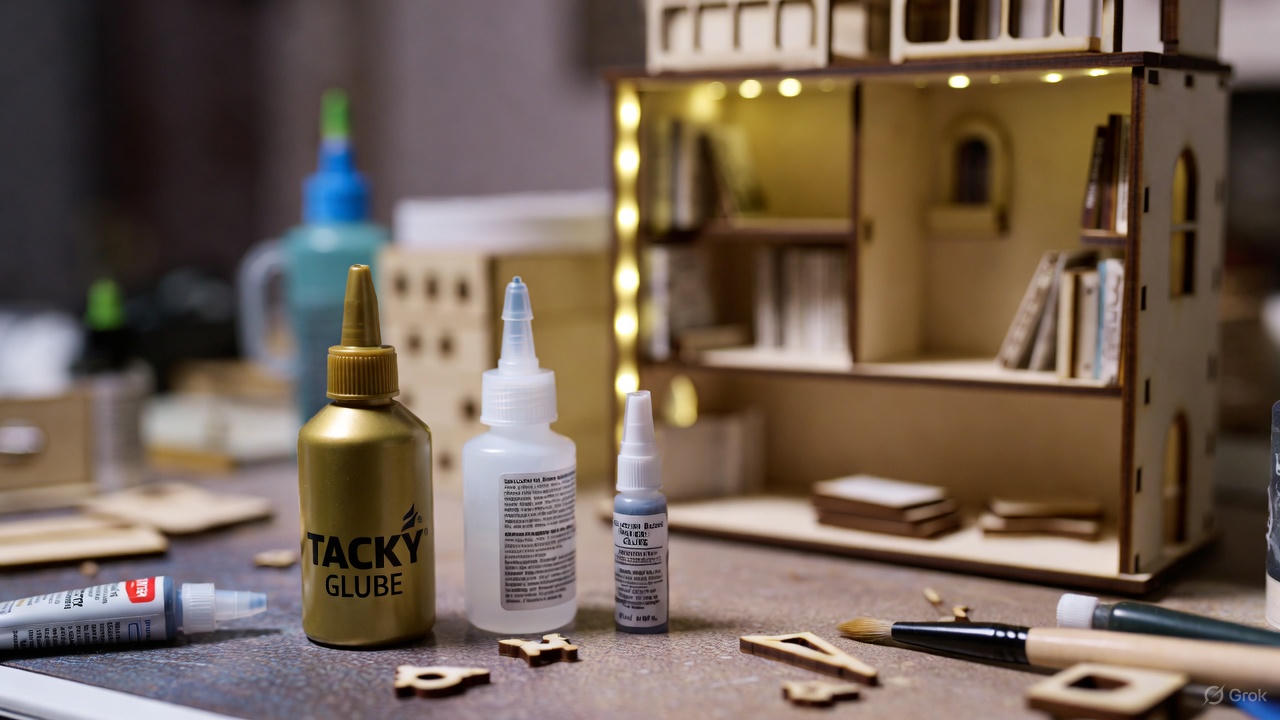
Category 1: PVA / Tacky Glues (Your Workhorse).
Best for: Wood panels, cardboard, paper elements, fabric.
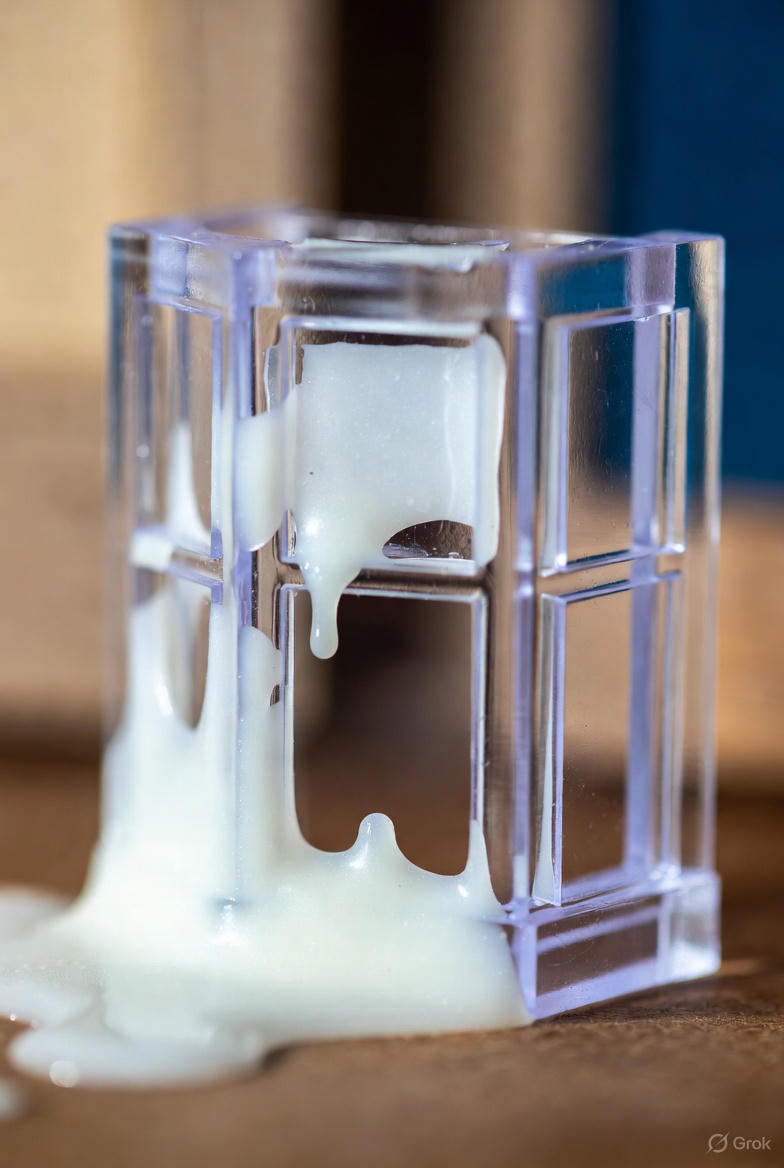
The Gold Standard: Aleene's Original Tacky Glue (Gold Bottle) This is the glue I reach for 80% of the time. It's thick, it grabs instantly, and it dries clear and flexible.
- Why it works: It doesn't run or drip. It has "Instant Tack," meaning it grabs within 10-15 seconds so you don't need to hold pieces forever. Crucially, it has low moisture content, so it won't warp thin wood panels.
- How to use it: Squeeze a small bead onto a scrap piece of paper. Use a toothpick to apply a thin layer to your model.
Category 2: Solvent-Based Craft Glues (The Speed Demon).
Best for: Metal hardware, non-clear plastic parts, resin details.
The Speed Demon: Beacon 3-in-1 Advanced Craft Glue This is my "I need this done now" glue. It dries in 30-60 seconds and bonds metal and plastic beautifully.
- Why it works: It melts the surface of plastic slightly, creating a chemical bond. It grabs instantly.
- The Downside (Human Truth): Spiderweb stringing. This glue gets stringy like melted cheese. When you pull the bottle away, thin strands of adhesive stretch between the tip and your work. Pro Tip: I keep a scrap piece of tape nearby to wipe the nozzle after every single drop to catch the strings.
Category 3: Super Glues (High Risk, High Reward).
Best for: Tiny parts (beads), non-visible repairs, emergencies.
The Precision Tool: Gorilla Super Glue Gel (Green Cap) Super glue has a bad reputation in miniature building, but the Gel formula is a lifesaver. Liquid super glue runs everywhere; Gel stays where you put it.
- When to use: Tiny non-clear parts like miniature doorknobs or wire connections.
- When NOT to use: Clear windows (fogging) or large wood joints (brittle).
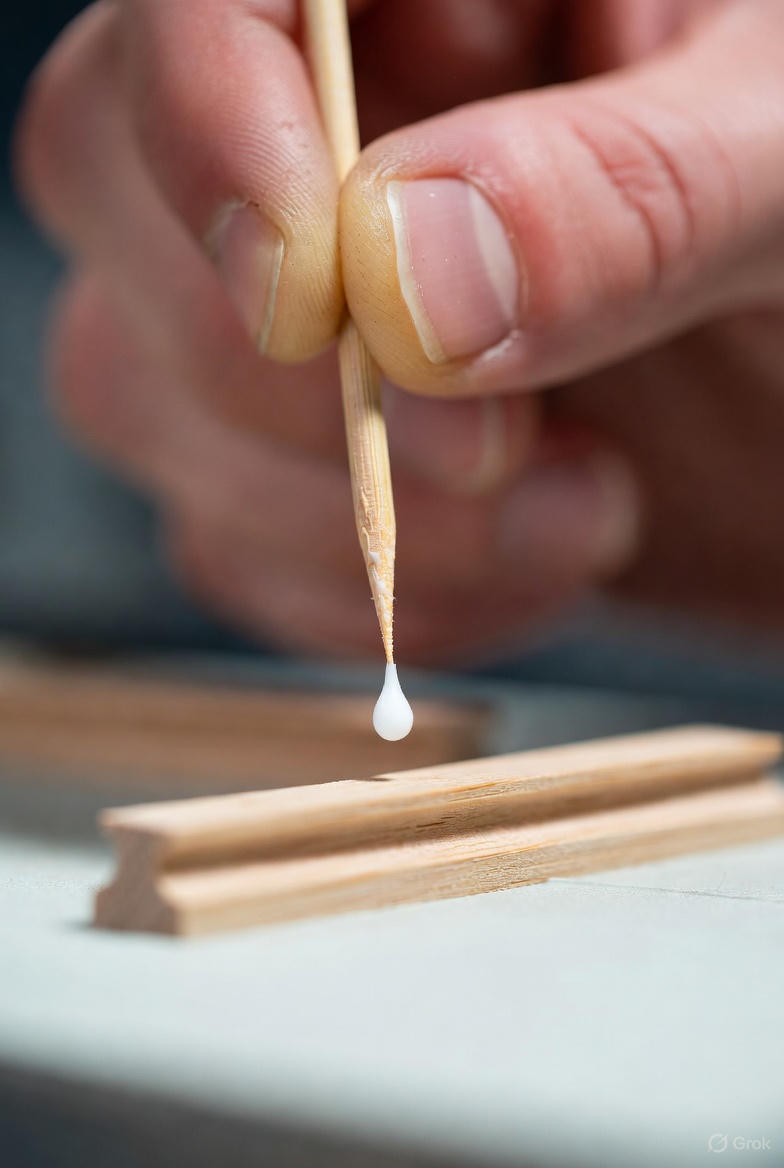
Application Methods: Precision Matters
The right glue is only half the equation.
- The Toothpick Method: Never squeeze directly from the bottle onto a tiny piece. Squeeze a puddle onto a piece of scrap cardboard. Dip a toothpick into the puddle, then dot it onto your model.
- The Syringe Method: For perfectionists, buy a pack of 1ml plastic syringes with blunt-tip needles. Fill them with Tacky Glue. You can lay down a hairline bead of glue along edges that is invisible to the naked eye.
The Ultimate 3-Glue Setup
You don't need 12 types of glue. You just need these three on your desk:
- Aleene's Original Tacky Glue: Use for 80% of the build (Wood/Paper).
- Beacon 3-in-1: Use for Metal/Plastic speed bonding.
- Gorilla Super Glue Gel: Use for tiny beads and emergencies.
Total cost? About $15-$19 for all three. This setup will last through 10-20 kits.
Now go build something amazing—and please, throw that mystery tube from the kit in the trash.
Read Also: The Essential Toolkit: What You Actually Need to Start
